Hello, @uknick ,
Took a while, but I finally ended up coming with a solution for you with the help of my colleagues, here it is:
- First, edit your IPSec configuration (on both sides, if you’re using multiple Teltonika devices), and enable Route based IPSec option & give your tunnel an IP address. In my case, I gave it 10.0.0.1/24 but this can be whatever you want, just make sure it’s a unique IP to avoid conflicts:
- After doing so, please head to Network → WAN and create a new WAN interface with the following settings:

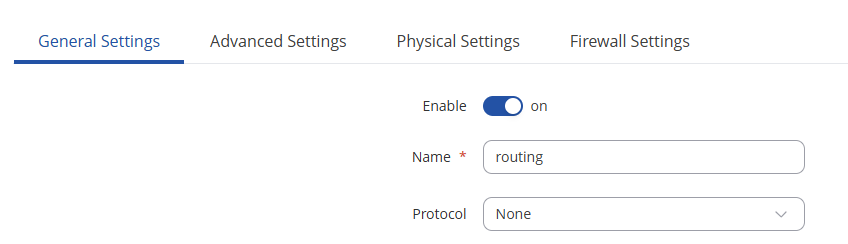
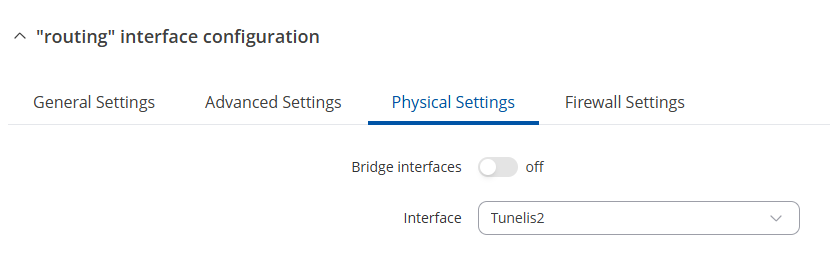
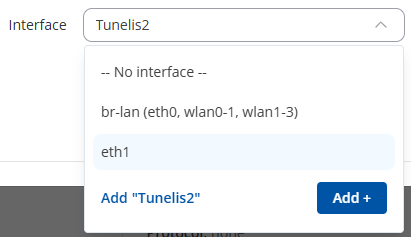
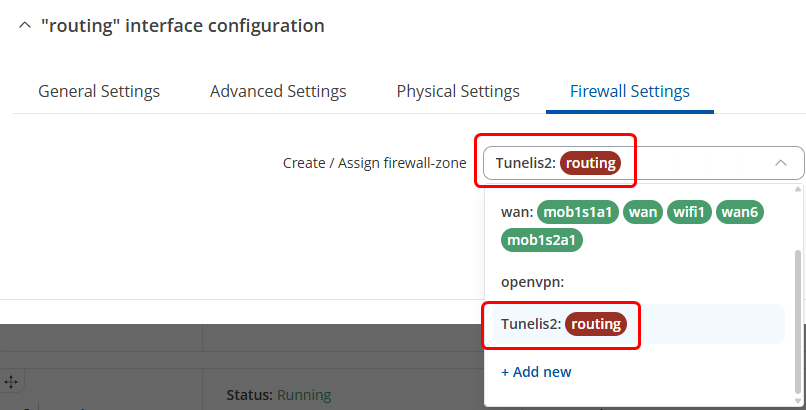
Make sure that the new “interface” that you’re adding under Physical settings matches your IPSec tunnel name. For example, if your tunnel is called “Tunelis2”, it must be the same, with capital letters, numbers, and symbols included.
After this has been done, head to Network → Routing → Static Routes:

And create a route similar to this. The Interface is going to be the “routing” interface we’ve created, which is the IPSec tunnel, target is the IP address, subnet is according to the IP address/entire network you’re gonna target & the gateway is going to be the other side of the tunnel, which in my case, is a TRB142 with the IPSec address of 10.0.0.2/24.
After saving and applying everything, you can check whether the route works like so:
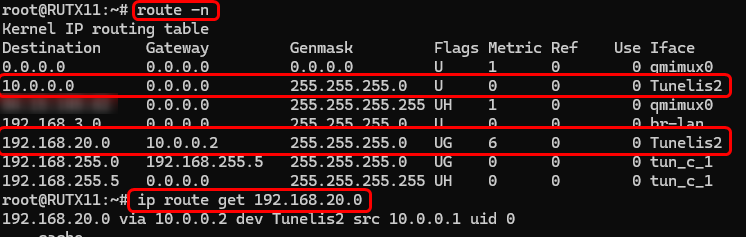
And here’s from the other side (TRB142):
![]()
If you’re interested, here’s what my setup looked like in a topology:

Hopefully, you get it to work as you want to. Good luck!
Regards,
M.